Love is a universal language. It is a feeling that defies both age and time. It is also a feeling that never grows old. These concepts about love and relationships can be traced back in time all the way to the Renaissance Period when William Shakespeare wrote his famous romantic tragedy, Romeo and Juliet.
From this novel, it is apparent that love and connection can significantly affect the lives and behaviors of people. Against all odds, two people who are truly in love can do unimaginable things just to be together even in life after death.
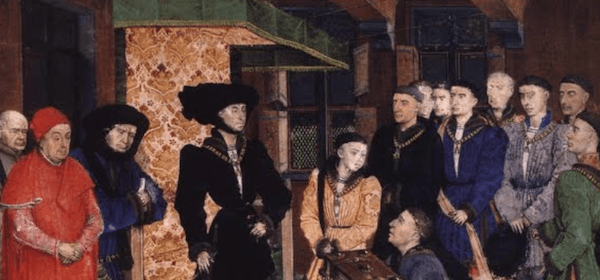
Romance during the Age of Renaissance
During the age of the Renaissance, the Europeans perceive love and marriage as two essential parts of life. However, they are viewed very differently from each other.
Love was described as a powerful force, like a magnet, that draws two people together both spiritually and sexually. Love is more than just an attraction but an overwhelming feeling that defies explanation. On the other hand, marriage is described as a more practical concept or principle. It serves as the basic building block that makes up a society.
It involves several aspects such as family expectations and acceptance of the community. In fact, these may appear to be more important matters than the willingness of the two individuals to marry each other.
Concepts on Love, Marriage and Sex
A male and female relationship is expressed in different ways during the Renaissance era. There are concepts that focus more on courtship (courtly love) in which a male expresses admiration and devotion by treating the female as his beloved and most ideal. Most of the time, back in this era, individuals that were meeting weren’t having a touch-based sex experience, what they had was a sex talk chat
Some poets view sexual desire as an important part of love; while for others, love is a pure and selfless feeling towards another. Still, there are some concepts that consider females as wicked temptations that can lead a man astray.
Once married, couples abandon the romantic aspects that existed during their courtship period. The relationship between the husband and wife is now more geared towards gaining companionship rather than developing a passion for each other.
Renaissance society also gave husbands authority towards their wives, and wives are entitled to very limited rights. For some, a sexual relationship in marriage is considered as a “debt” that married couples owed to each other.
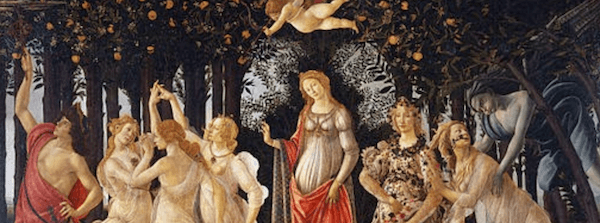
Platonic Love
Renaissance thinkers perceive “platonic” love as the strongest and noblest form of love. This perception about love was based on the ideas and beliefs of Neoplatonists who are a group of philosophers who gave new interpretations and concepts on the works of Plato, an ancient Greek thinker.
Platonic Love is a type of love and relationship that is non-sexual but rather purely spiritual. It is characterized by the lack of sexual desire between a man and a woman.
Correlation to the Present Time
Basically, the concept of love and relationship hasn’t changed over time. Love is still that same powerful force that draws two people together. The principle of courtship still exists although it is executed in a different manner.
Factors that influenced modern courtship include the changes in human behavior, modernization of thinking, and the availability of various resources.
Modern technology has greatly influenced the manner of courtship. Before, there were letters and scrolls written on parchment paper; now, we have emails, text messages, and various messaging apps.
Before families introduce their children to each other for arranged marriages or a man exerts efforts against all odds to pursue the woman he loves; nowadays, finding romance can be done in an instant by dialing the social chat lines for singles or by using a dating app. Before, women are submissive towards men; in this modern age, women have more freedom to express themselves and to make their own choices even after marriage.
Platonic Love is likewise more apparent and realistic in this modern age because people are generally more open-minded about relationships. They have more freedom to interact socially and thus have more opportunities to gain new friendships and connections regardless of age, gender, and economic status.
Conclusion
The Renaissance Period may be an era that gave rise to various concepts about heterosexual love and relationships. However, time has a way of changing the interpretations of these beliefs and perceptions; and even defying all forms of reasoning.
although love remains to be the universal language of all time, it has taken a major leap with the development of different modern approaches in courtship, relationships, and marriage.
More importantly, other forms of relationships have also emerged giving rise to modern romantic ideals which are no longer limited to the heterosexual type. …